Friday, 31 December 2010
Update
I havent done alot of work on the car lately due to a seriously bad dose of manflu. I have managed to stamp the chassis number and paint the chassis. After finishing the odd weld, I primed the chassis with two coats of zinc brushing primer, followed by a rub down and two coats of smooth hammerite.
Sunday, 12 December 2010
Floor, seat back panel and fuel tank
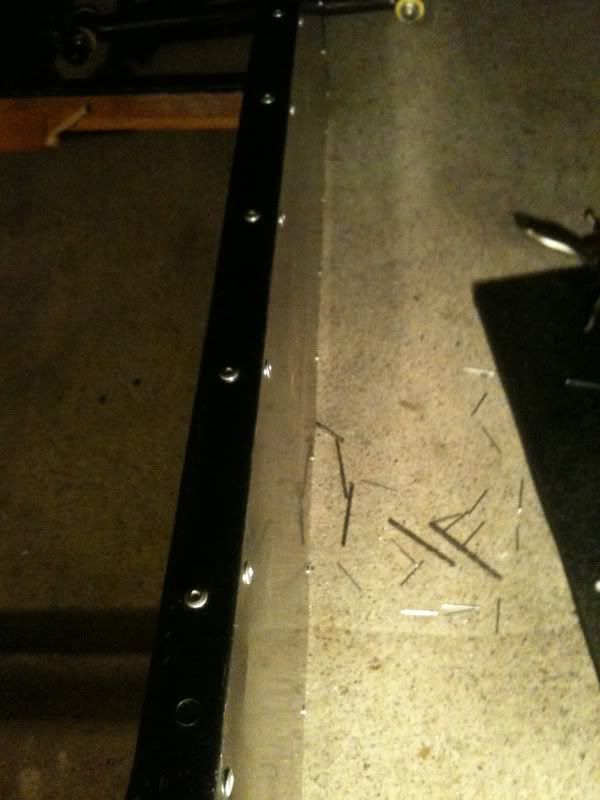
This morning, bright and early i stripped all the running gear, wishbones etc from the chassis and cut the floor panes from 1.6mm steel sheet. I decided to rivet every two inches and strip weld from above every 8 inches, just for peace of mind and also to add a bit of stiffness to the chassis. I also spent a good hour or so checking every weld aswell as re welding a few joints.

I then cut the seat back panel, also from 0.8mm steel (just to save a bit of money), i know it will add some weight but at least it will be strong. I wont rivet it in until everything else is back together.
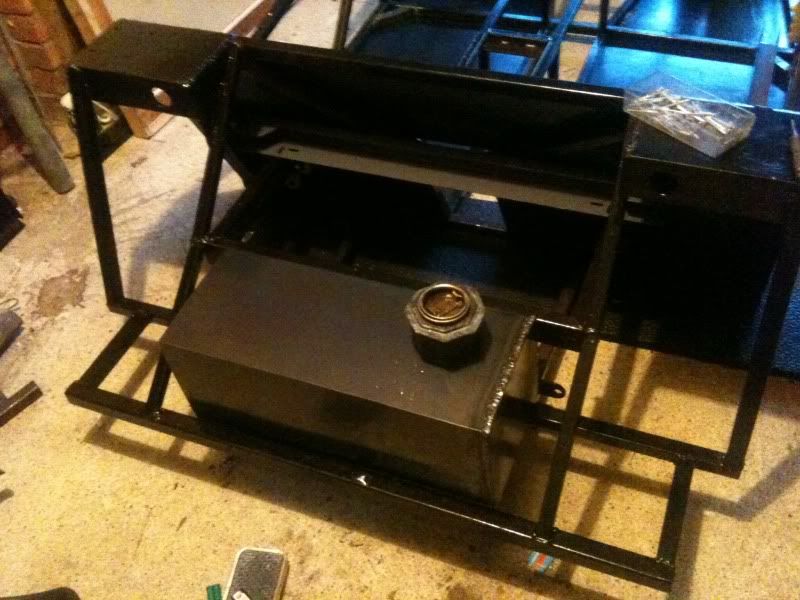
I then started on the fuel tank. Ive made it 500 by 200 by 200, nice and compact but still 20 litres. Iv yet to put the baffles, end plate, outlet and filler neck on it. I filled it with water and left it for an hour or so and to my amazement there were no leaks so far!

I then cut the seat back panel, also from 0.8mm steel (just to save a bit of money), i know it will add some weight but at least it will be strong. I wont rivet it in until everything else is back together.
I then started on the fuel tank. Ive made it 500 by 200 by 200, nice and compact but still 20 litres. Iv yet to put the baffles, end plate, outlet and filler neck on it. I filled it with water and left it for an hour or so and to my amazement there were no leaks so far!
Saturday, 27 November 2010
Done a bit more today
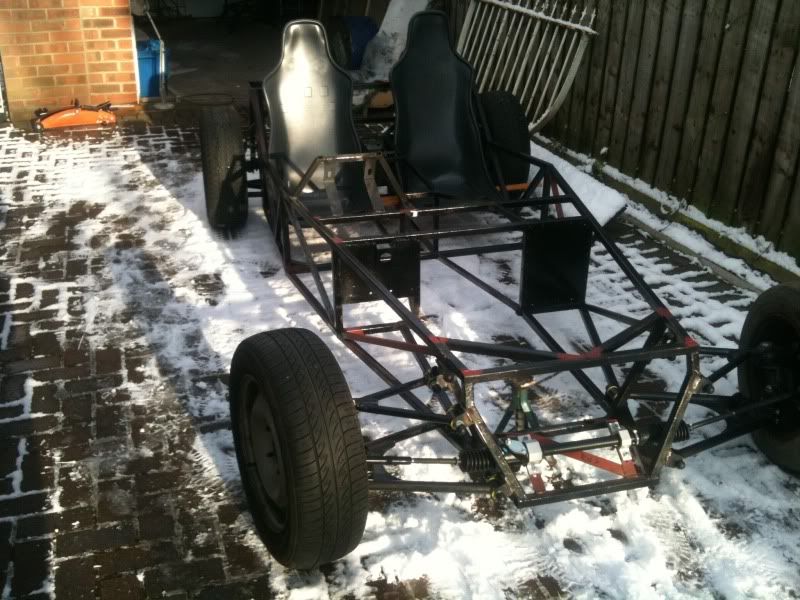
Well, i was intending to go down the local scrappy to get some bits and bobs, but four inches of snow stopped play. Luckily the garage is nice and warm so i pulled the car out and put some front wheels on it to make it easier to move.
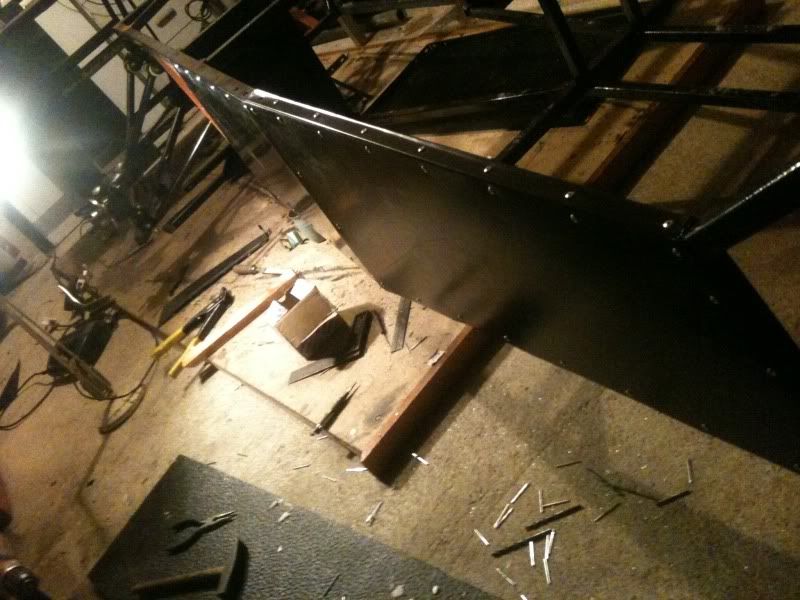
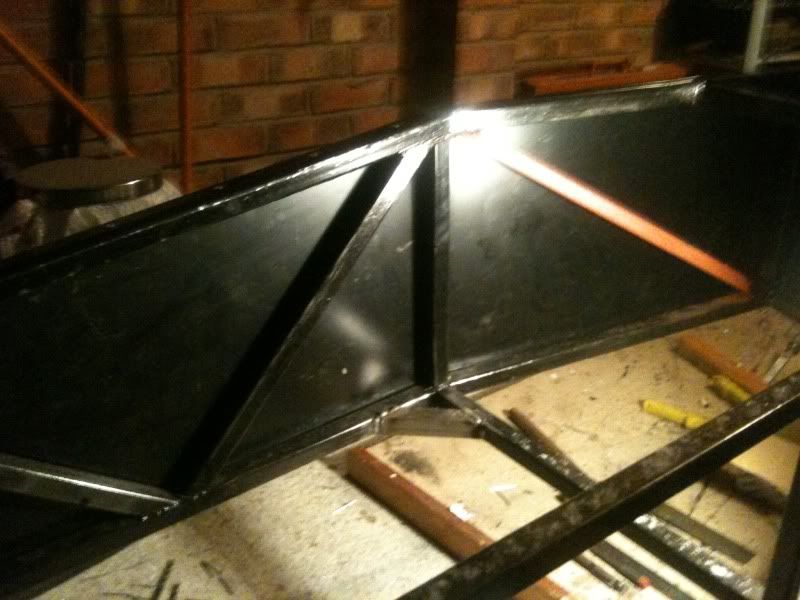
I spent the whole afternoon making the nearside side panel from 1.5mm anodised black ally sheet. Ive never worked with sheet metal before, but it turns out to be quite easy, although alot more time consuming than i thought. 102 rivets later, ive got one side panel and arms like Popeye!
Thursday, 25 November 2010
got some seats
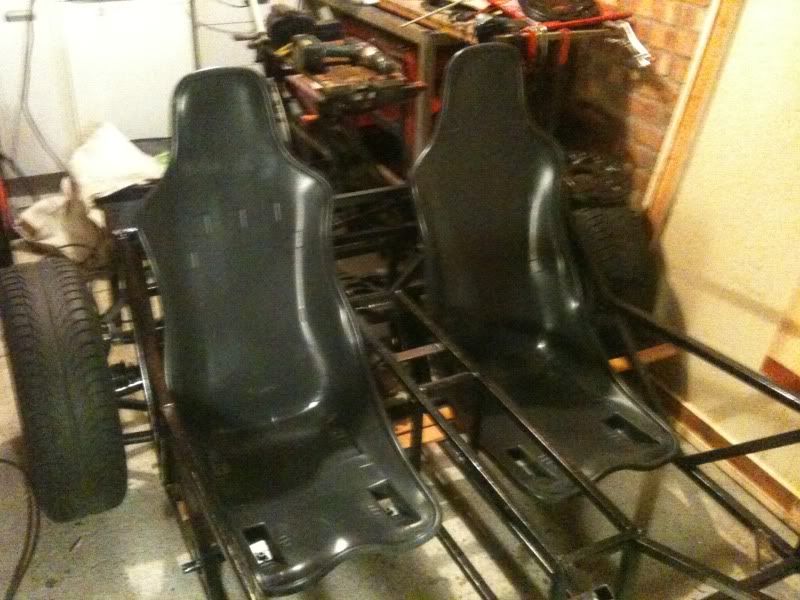
Found a set of nice seats for the roadster, i Bought them on a whim, they were supposedly 46cm wide, the chassis floor space is 45cm wide. But, for £30 new on ebay i couldnt really go wrong. Luckily they just fit!
Tuesday, 23 November 2010
front end of chassis almost rolling
Got some more work done tonight.
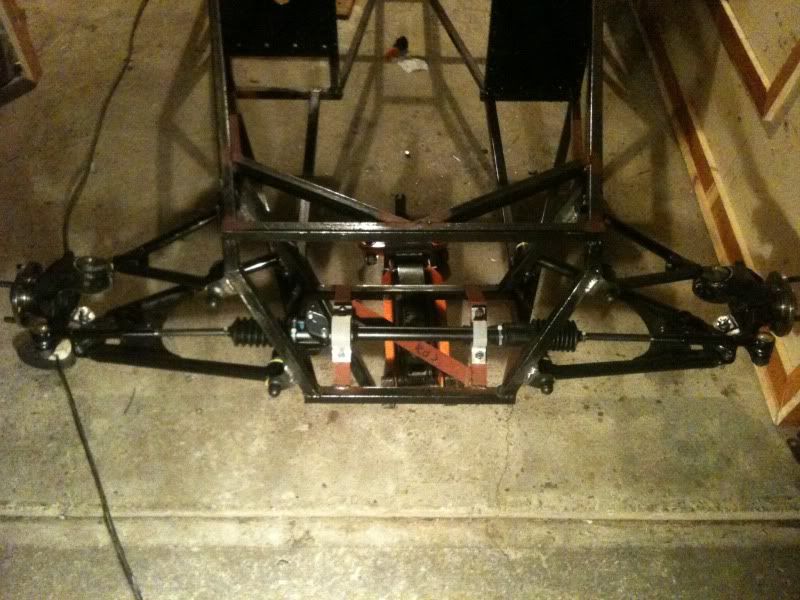
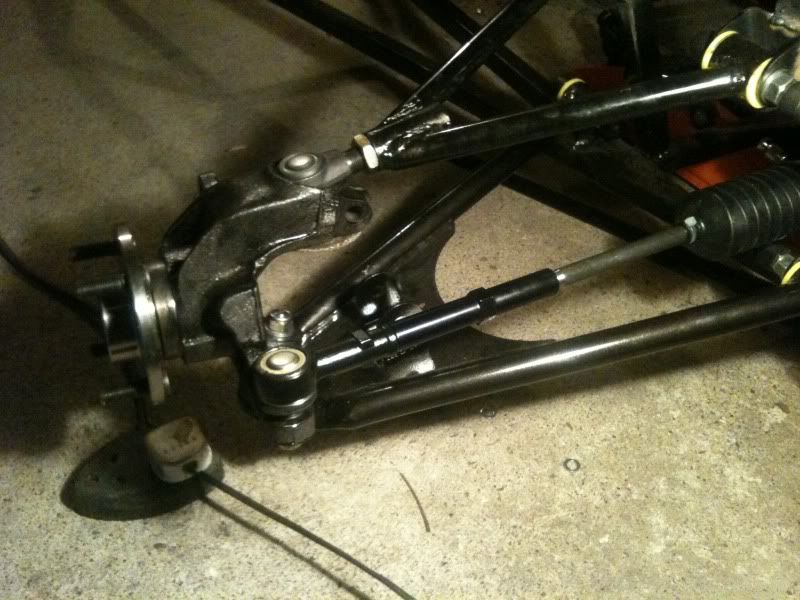
Picked up a brand new steering rack, rack extendion tubes, maxi ball joints, drag links, rs2000 track rod ends and some machined alloy clamps from saturn sports cars.
I had a quick play and mocked everything together loosly to check that everything fits with no issues.
All thats needed now to get the front end rolling on wheels is the mushrooms,which act as a dummy strut to take the top wishbone links. These have to be machined from alluminuim. Oh and shocks, although at this stage in the build, il make some dummies from left over box section.
I have also calculated the cost so far, £1099.58
Picked up a brand new steering rack, rack extendion tubes, maxi ball joints, drag links, rs2000 track rod ends and some machined alloy clamps from saturn sports cars.
I had a quick play and mocked everything together loosly to check that everything fits with no issues.
All thats needed now to get the front end rolling on wheels is the mushrooms,which act as a dummy strut to take the top wishbone links. These have to be machined from alluminuim. Oh and shocks, although at this stage in the build, il make some dummies from left over box section.
I have also calculated the cost so far, £1099.58
Another £800 or so and the chassis will be completly rolling, including steering column, some sexy willwood front brakes and nice alloys. Not bad when you cant even get a bare caterham chassis for that!
Almost forgot to mention. Last weekend i decided that i am going to go down the route of using a brand new zetec coupled with a reconditioned Type 9 gearbox. I had a bit of time on my hands so i got the grinder out and scrapped the mt75 transmision tunnel and buit the book spec type 9 tunnel. This meant that i had to modify the pedal box plate to widen it, but at least i will be able to drive with shoes on as the pedals will be a bit farther apart!
Sunday, 14 November 2010
Pedal box finished
I have now finished assemblingthe pedal box for the car, I purchaced the parts required from andy hugill at saturn sprotscars. I had to modify the box slightly to allow fitment as my transmission tunnel is quite wide, I am het to drill the hole for the master cylinder, but il do that when ive aquired one...
Front uprights
Front uprights have arrived, managed to get the last pair from rally design, phew! got a spare nearside aswell :)
Subscribe to:
Posts (Atom)