Hi,
This blog will follow me as i build a haynes roadster, following the book "build your own sports car" by Chris Gibbs. The haynes roadster is a 7esque designed sportscar which uses running gear and parts from a ford sierra. Most builders tend to use a "donor" car for parts such as the engine, transmision and steering rack/column etc. However, i dont have the space for a donor car so im aquiring as many brand new parts as i can to allow me to gain a current registration number when the car is IVA tested. This will cost a bit more in the long run and take me longer to aquire the parts as funds allow. The overall cost of my finished roadster will be a fraction of the cost of, say a caterham or westfield. Infact the haynes roadster can be built for a fraction of the price of a small shopping car. Many builders have built pristine examples for less than £3000!
Before embarking on the build i had very little welding experience, although i am a bit of a self taught mechanic but by no means an expert. the book teaches most things you need to know, and the haynes forum is full of top blokes who have helped me out countless times. If broken down into manageble chunks the build really is simple.
My main aim is to break the build down into manageble chunks, first of all i intend on building the chassis and get it rollin on wheels, then engine and gearbox, followed by brakes, fuel supply and wiring then bodywork and interior. I started the chassis in september this year, my target is a rolling chassis by christmas...( maybe christmas 2020 :) )
I intend on using a 2.0 litre ford zetec engine coupled with a type nine gearbox, however i may find another engine while saving up so i have opted to build my chassis with a wider transmision tunnel incase the gearbox i end up with is larger than a type nine. This is at the cost of a little foot space but id rather modify the mounting brackets than have to modify the tranny tunnel later on!
Heres some pics of what i have done so far....
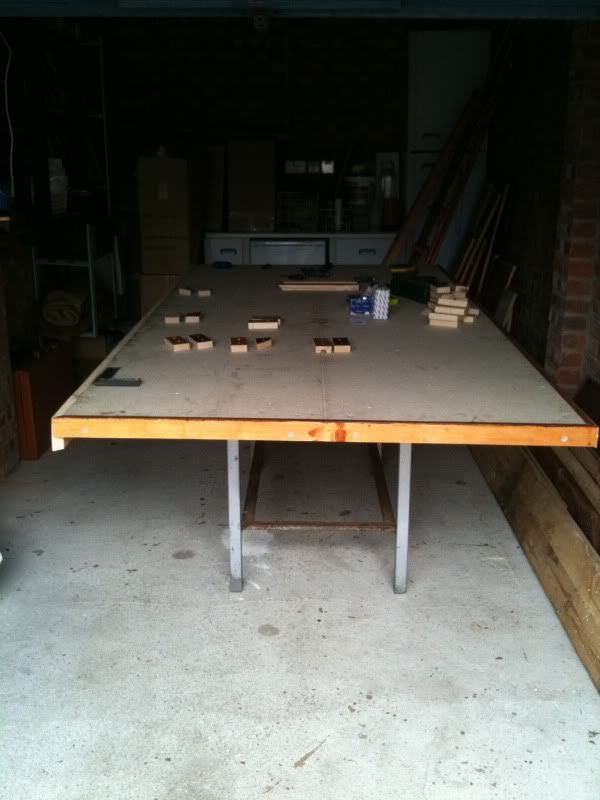
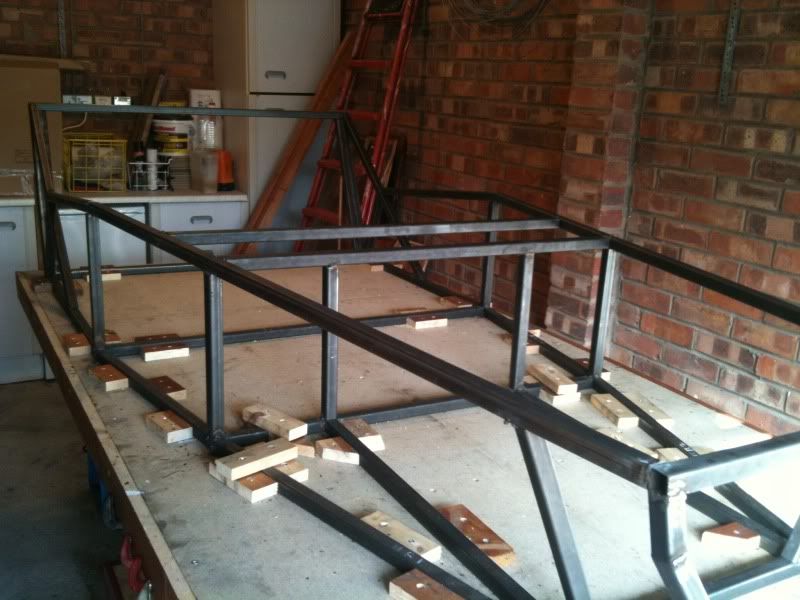
Build day one, Had to got my girlfriends dad to help me build a table ( wood is not my forte!) The table has to be perfectly flat to build the chassis otherwise theres no point carrying on as the chassis wont be straight.
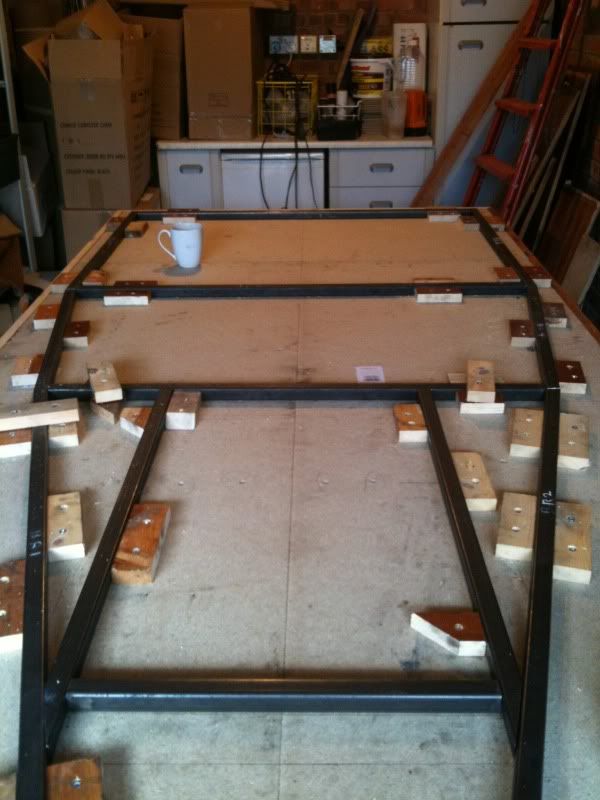
After checking and double checking that the table was perfectly level I then marked out the positions of the chasisis foundation rails. After cutting the rails ( i did them all myself but i dont want to ever have to do it again! theres alot of angles and compound angles to cut. I would highly reconmend getting a precut chassis rail kit from a top bloke called handyandy on the haynes forum) i layed them out and used blocks of wood to fix them in the correct positions then screwed them all tight down on the table to prevent movement. I then tack welded the foundation rails before begining on the dreaded front frame....
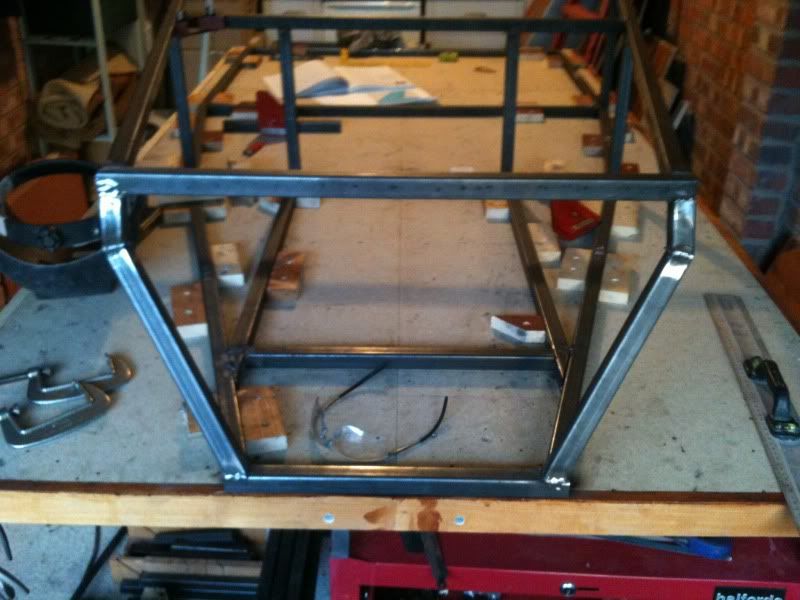
The front frame was my first encounter with compound mitre angles. The front frame has to be as acurate as the book states because it carries the front wishbone mounts and sets the height of the top chassis rails. I got it right on the first attempt, however i the upright parts are handed and i managed to cut three left handed uprights three times in a row :) the book throws the builder in at the deep end regarding mitre cuts, i nearly had a nervous breakdown at this stage! Then it was onto attaching the upright tubes and adding the top rails.
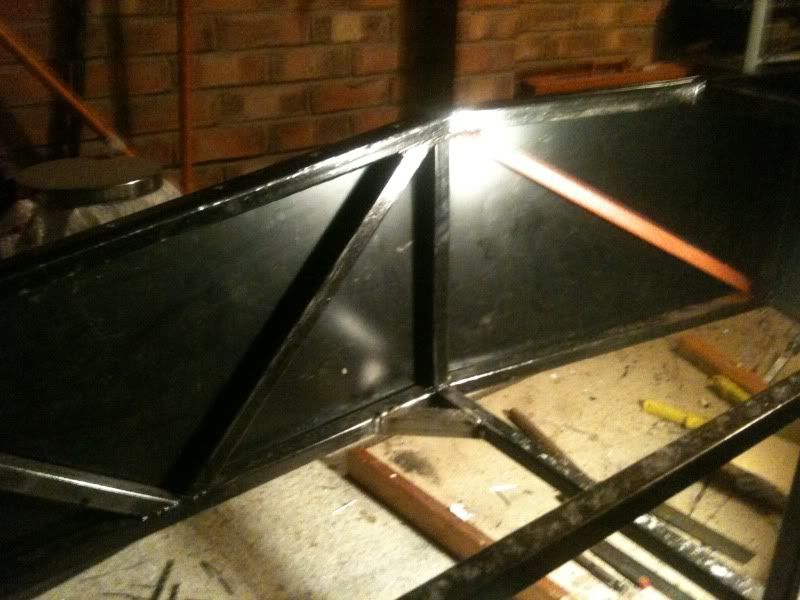
After a coulple of weeks of working on the chassis at weekends and after work i ended up at this stage, the chassis mainframe, still tacked together incase of any errors to be fully welded only when finished
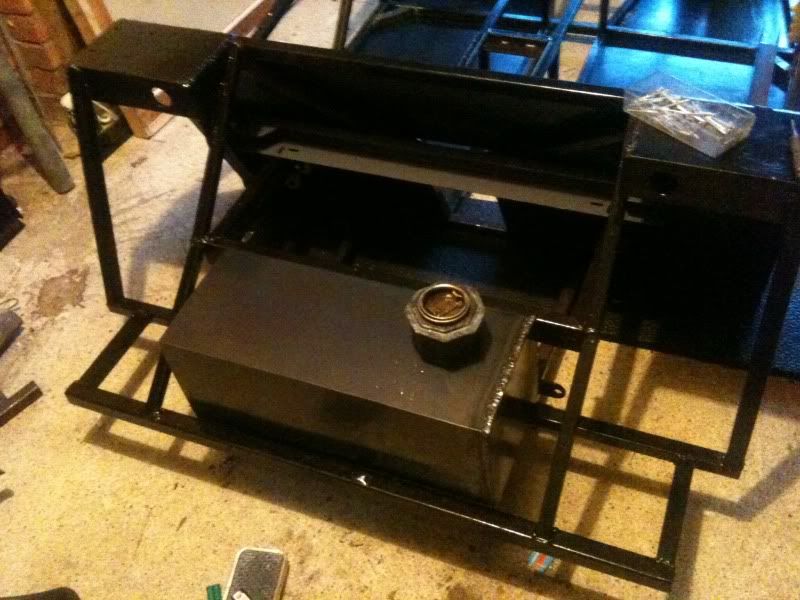
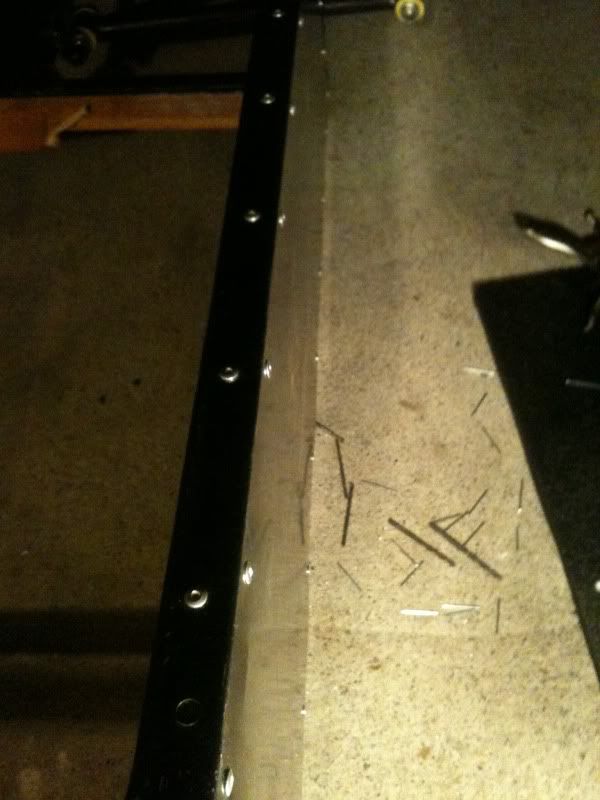
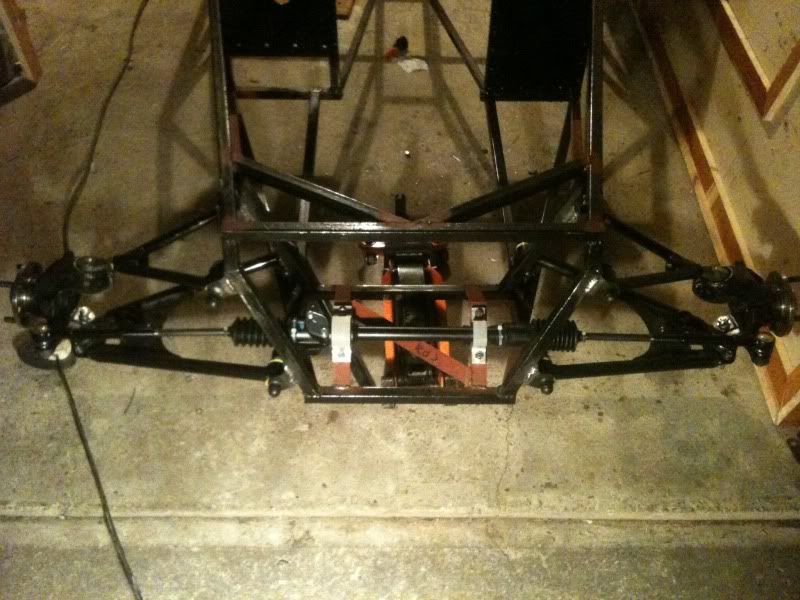
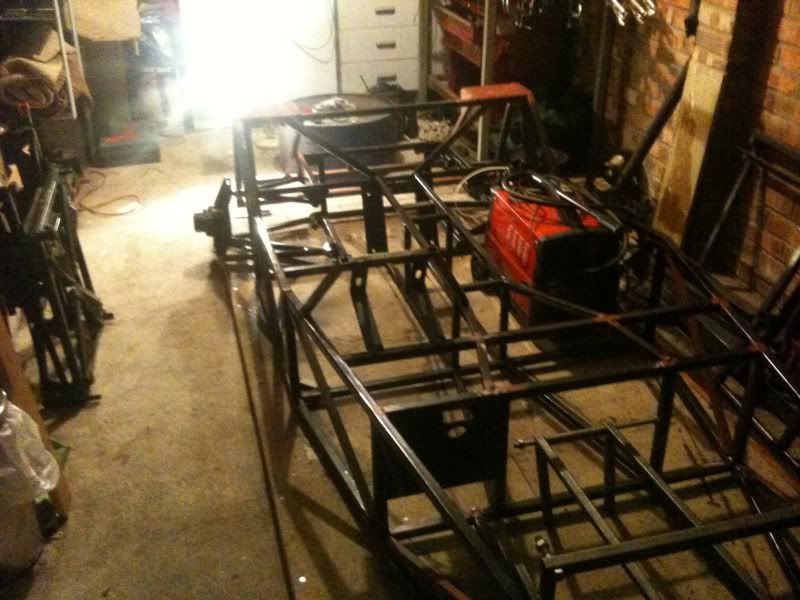
After several weeks of late nights i had the chassis up to this stage, note the diff is just sat in its intended position. My workshop is a bit damp, so i decided to give the chassis a quick coat of hammerite to prevent it rust from forming, ill rub it back and give it a proper paint job once fully finished.
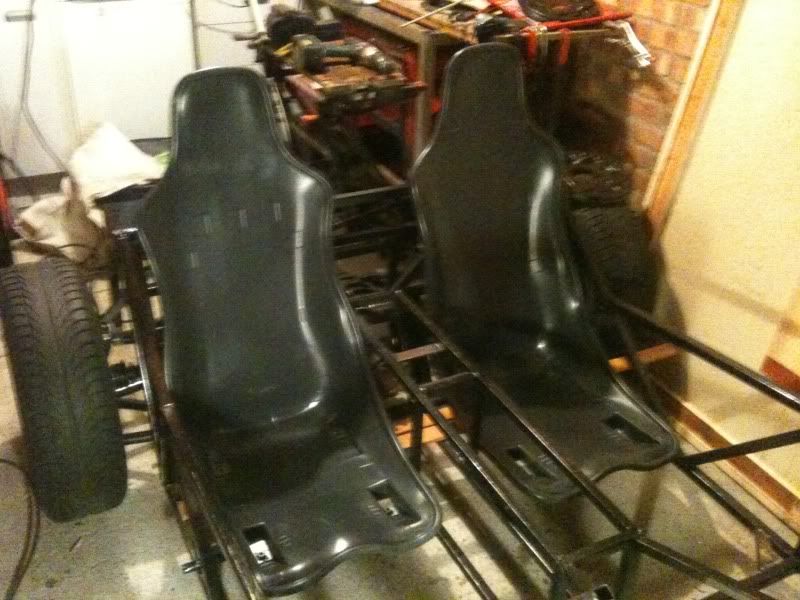
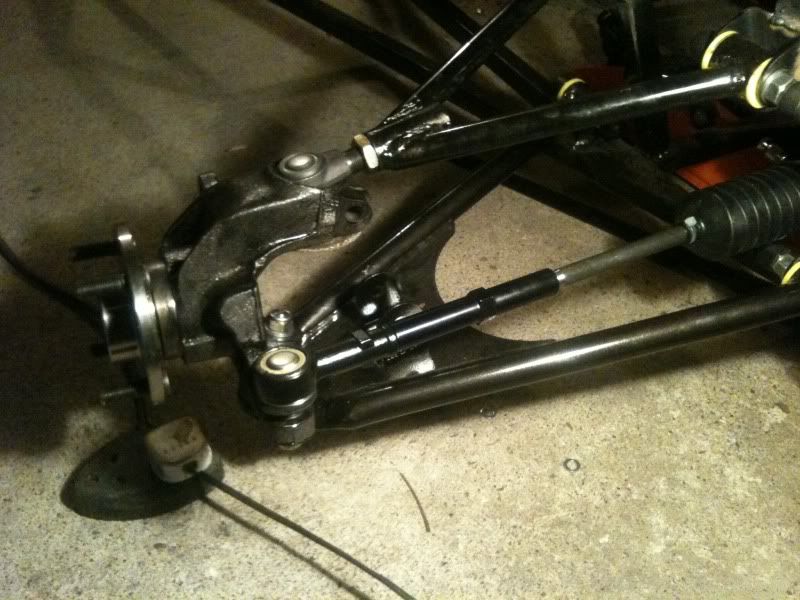
Once the chassis was more or less completed i had a trip up to hartlepool to meet Andy Hugill at Saturn Sports Cars, and ordered the wishbones from him, aswell as other components. His fabrication is spot on as is his advice and stomer care, he did scare me witless though when we went for a drive in his roadster! I hope to return the favour when mines finished ;)
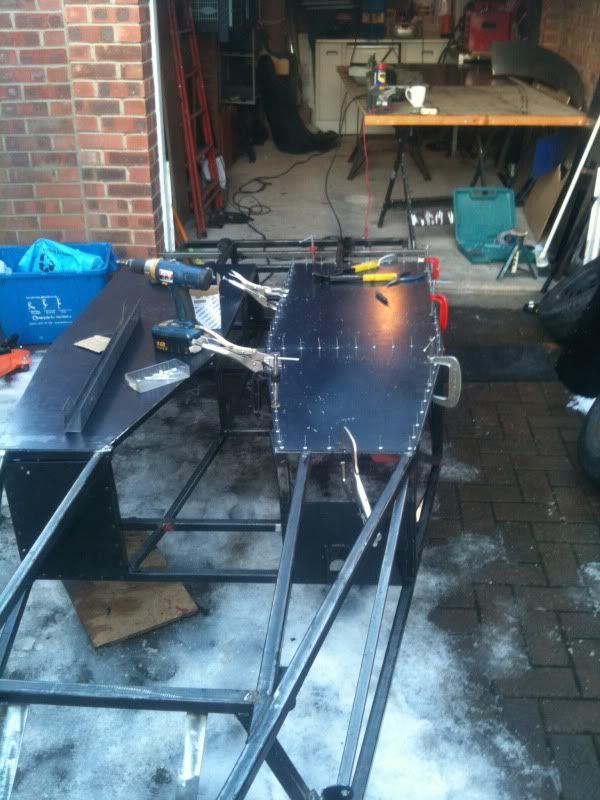
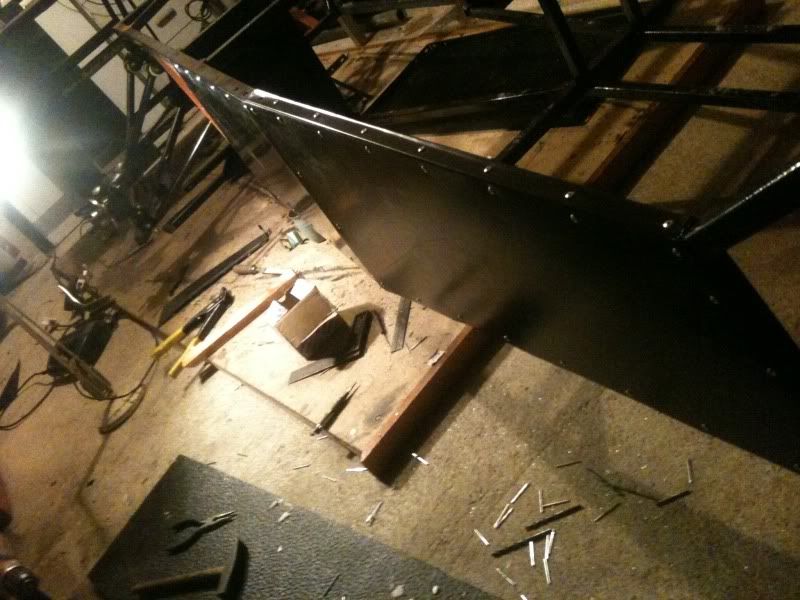
After many hours of hard graft after work i finally got to the stage where the build started looking less like a climbing frame and more like a car...
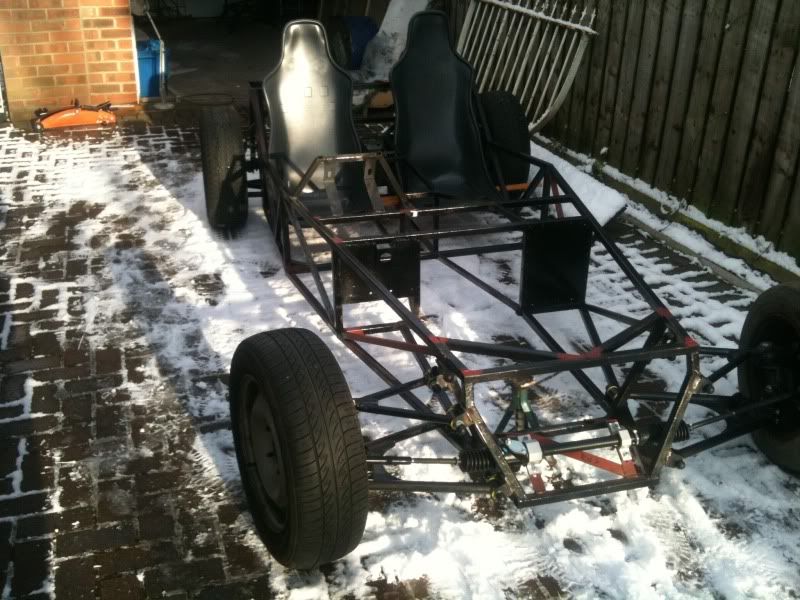
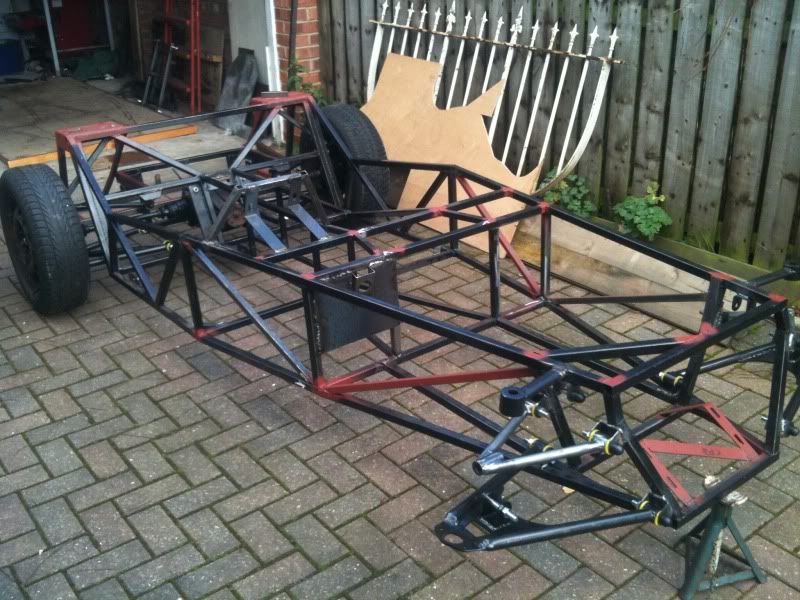
I have now got the rear end of the chassis rolling minus brakes and coilovers, the front end will be completed within the next couple of weeks. All thats left to do to the chassis is to finish a couple of welds that iv missed, add the rear nearside downtube for the rear tub support, weld on the floor and the engine/gearbox mounts.